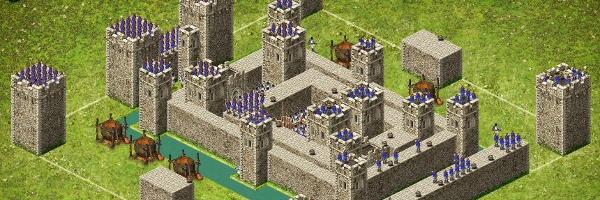
Pig Castle #4 is the most common Pig Castle and takes second in terms of difficulty and expense incurred for it’s removal. It has a smaller twin which sports fewer Swordsmen in the interior, favoring instead their being garrisoned outside the castle walls, just inside the white line. As with most Pig castles, the greatest barrier to a direct drill to the keep is the inclusion of a moat encircling the design.
| Scouts needed to get castle report | 5+ |
| AI castle Sally forth | Yes (2 Knights) |
| Armed Peasants emitted from Tunnel | — |
| Armed Peasant tunnel location | — |
| Killing Pits | No |
Setup
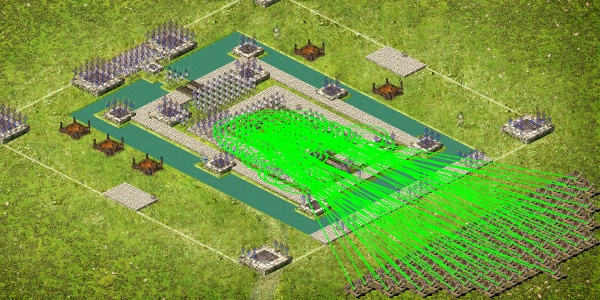
Now, a lot of the attacks I see used on this design are directly from the front. While it can be effective (especially using a clearing wave first) I don’t agree it is the best approach for a one wave setup. This is primarily because of the large number of archers on the left hand side of the castle. In contrast there are sparely garrisoned archers on the right side which makes for less ranged fire on my pikemen while they dig up the moat.
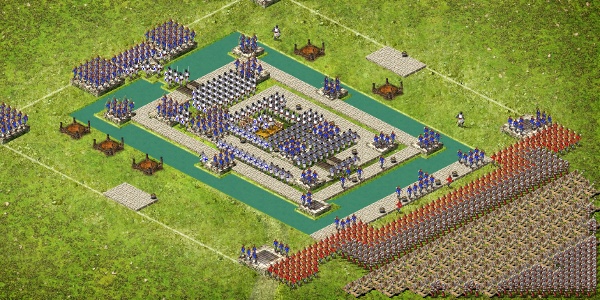
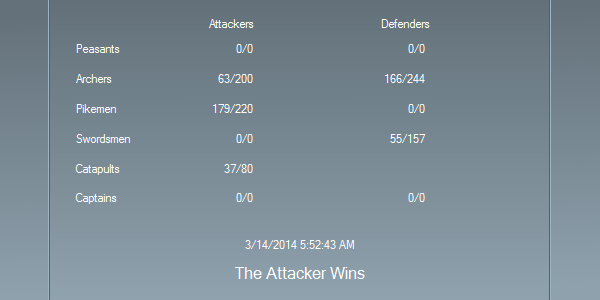
The attack I used here is my standard AI removal formation; 200 Archers, 220 Pikemen, and 80 Catapults. I use Archers on the front line to hold my Pikemen back until The Pig’s Boiling Oil pots are tripped and burned out.
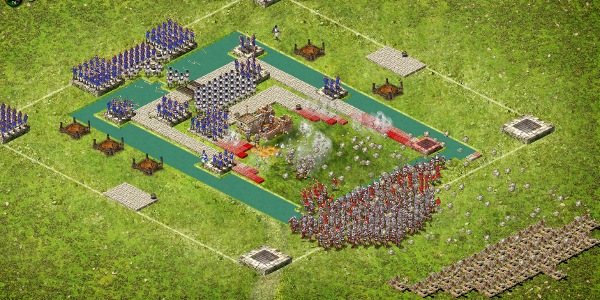
Result
As you can see, this attack was very direct and left quite a few of The Pig’s troops on the walls, if you are clearing this castle for the honor you should instead use a 2 wave attack. Use the first wave to clear the enemy archers off the Great Towers around the perimeter and the second wave to take the keep. The attack I used here is my favorite for quick clearing when honor is of no concern to me, it’s also the least costly in terms of gold and weapons.
| Total recruitment cost (values are in gold) | 31,000 |
| Recruitment value of surviving units | 26,210 |
| Actual recruitment cost to remove | 4,790 |
![]()