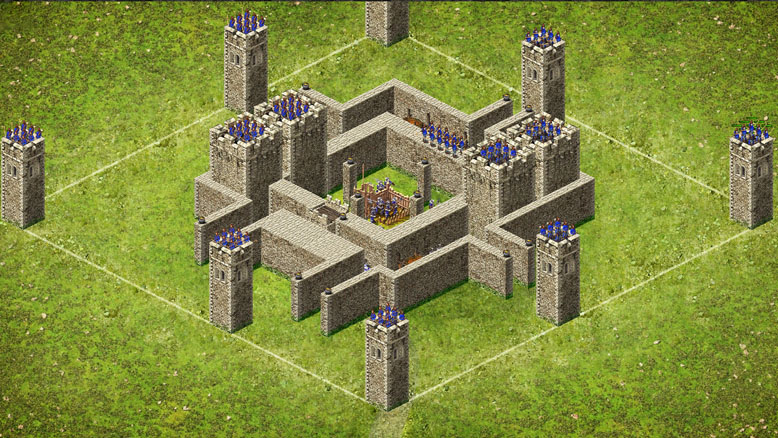
Wolf Castle #4 is essentially Wolf Castle #3 with 9 additional Perimeter towers added at the white line, although these two designs share many similarities the attack setup is somewhat different. You should also expect greater unit losses (especially catapults) when removing it due to the additional garrisoned Archers around the perimeter. The Wolf’s diverse array of defenses means you need to keep an eye out for the unseen as this castle boasts both Sally Forth Knights, Boiling Oil, and invisible Killing Pits. Beware!
| Scouts needed to get castle report | 3+ |
| AI castle Sally forth | Yes (4 Knights) |
| Armed Peasants emitted from Tunnel | — |
| Armed Peasant tunnel location | — |
| Killing Pits | Yes |
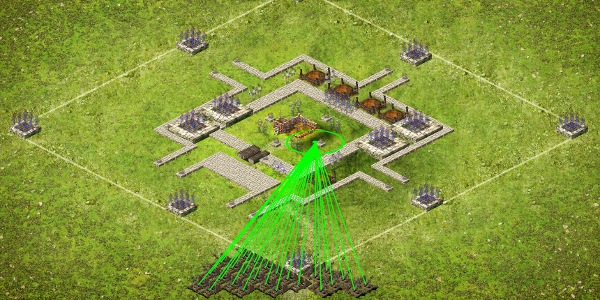
Setup
In this setup I placed the Catapults in the bottom-right corner to target them near the Keep, I also placed my extra attacking Archers around the Catapults to kill off The Wolf’s Sally Forth Knights and clear out the enemy Archers in the Perimeter towers quickly.
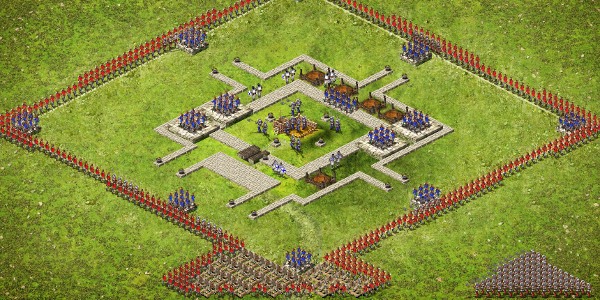
Set up three or four preliminary Pikemen just behind the white line to trip the Oil Pots before your main force arrives; my Archers are concentrated around the Perimeter towers and my main melee force is placed in the southeast corner, this keeps them back until my Catapults and preliminary Pikemen have a chance to clear a path to the keep.
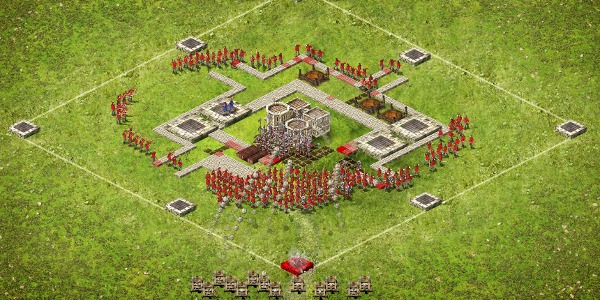
Result
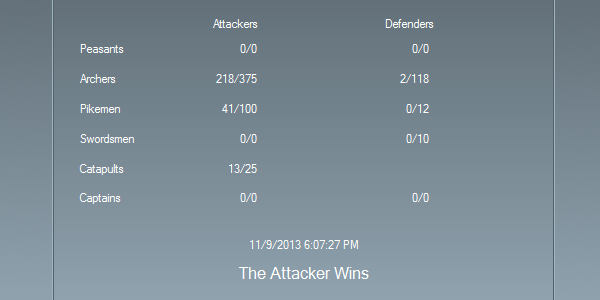
A pleasing result, my attack killed all but two enemy defenders for maximum honor although twelve catapults were lost in the process.
| Total recruitment cost (values are in gold) | 17,500 |
| Recruitment value of surviving units | 9,010 |
| Actual recruitment cost to remove | 8,490 |
![]()